Turbocoupe Console Decal Installation Instructions
Here's a picture of the plate starting out.
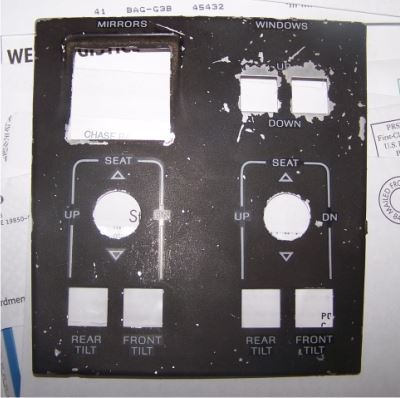
I received the plate already removed but I have removed them in the past. I use a 3M adhesive remover to loosen up the glue. NAPA also sells a similar product. Squirt it under the edge of the plate and let it soften up the glue, then pull it off slowly or use a putty knife to get under it. The trick is not to warp or dent the plate.
Once off I put the plate in a small tray and cover it in acetone and let it soak for ten or fifteen minutes. This softens the paint and a small brass bristle brush removes it.
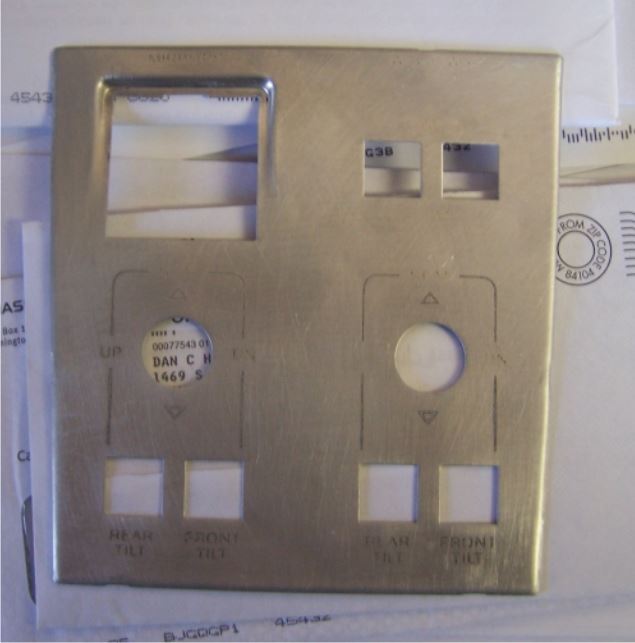
You can see and feel the indentation where the original markings were screen printed on. I normally sand them with something like 400 grit to get it smooth. On this plate I left these marks intact as reference points.
Here is a picture of the decals before installation.
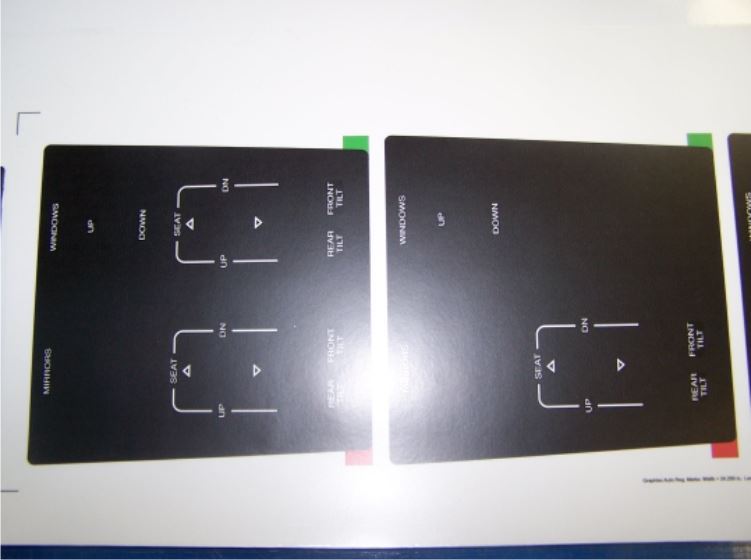
The printed area overlaps the plate by about 1/8 inch all the way around. Remove the decal from the backing and lay it on a clean surface adhesive side up. Center the plate on the decal and allow it to lightly adhere so you can turn it over and apply it. A heat gun or hair dryer helps around the switch area and edges. Trim the switch holes with an X-Acto knife or similar blade.
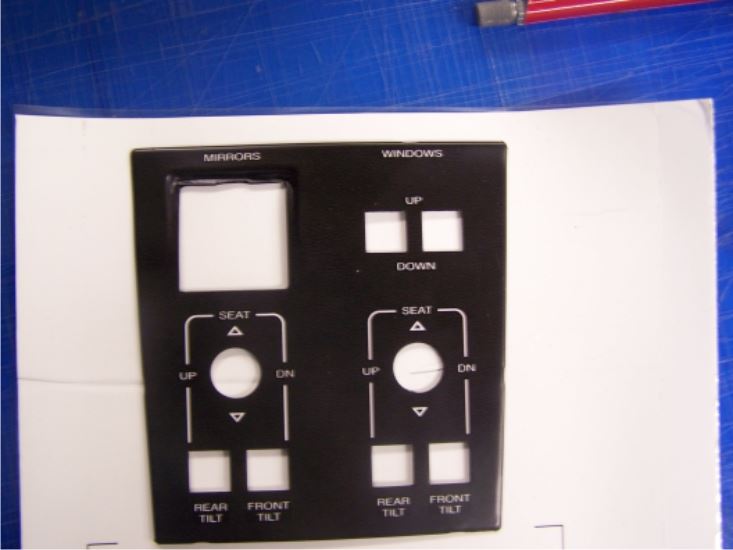
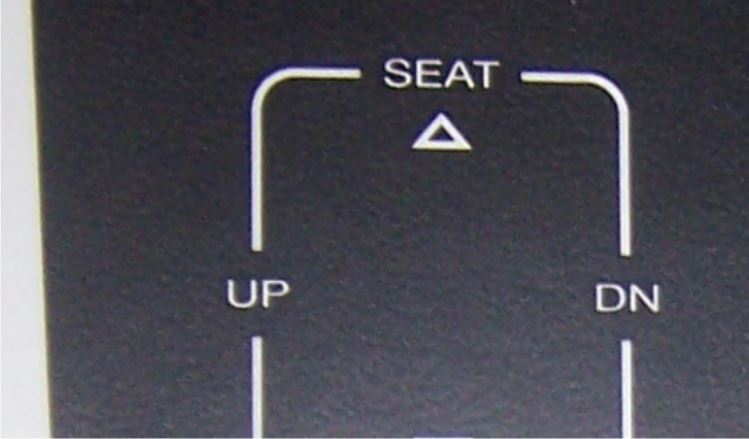
Here is a closeup of the decal. We tried to get as close as possible to the look of the original finish.